| | | |

Tips and Tricks for Posing Models Indoors and Outdoors

Posing models, whether indoors or outdoors, requires a combination of technical skill and creativity. The right poses can bring out the best in your subjects, showcase the clothing or products effectively, and tell a compelling story. Here are some tips and tricks to help you get the most out of your model shoots in any environment.

General Tips for Posing Models

1. Communicate Clearly

Effective communication is key to a successful photoshoot. Explain your vision to the model, give clear directions, and provide feedback throughout the session. This helps the model understand what you’re looking for and feel more comfortable.

2. Emphasize Natural Poses

Natural, relaxed poses often look more authentic and engaging than overly staged ones. Encourage your model to move naturally, and capture candid moments. Subtle adjustments can make a big difference without making the pose look forced.

3. Use Props Wisely

Props can add context and interest to your photos. Whether it’s a chair, a piece of clothing, or an accessory, use props to enhance the pose and story. Ensure the props complement the overall composition without distracting from the model.

4. Pay Attention to Details

Small details, like the position of the hands, the angle of the chin, or the direction of the eyes, can significantly impact the final image. Pay attention to these details and make adjustments as needed to create a polished look.

Indoor Posing Tips

1. Utilize the Space

Indoor environments often provide a variety of backdrops and settings. Use the furniture, windows, and architectural features to your advantage. Incorporate these elements into your poses to create interesting and dynamic compositions.

2. Experiment with Lighting

Indoor lighting can be controlled more easily than outdoor lighting. Use natural light from windows, artificial lights, or a combination of both to highlight your model. Experiment with different lighting setups to find the most flattering angles and effects.

3. Create Depth and Layers

To add depth to your indoor photos, position your model at varying distances from the background. Use layers, such as foreground elements or reflections, to create a sense of depth and dimension in your images.

4. Play with Angles

Indoor shoots allow you to explore different angles and perspectives. Shoot from above, below, or from the side to find unique and flattering viewpoints. Changing angles can also help emphasize certain features and create a more dynamic image.


Outdoor Posing Tips

1. Leverage Natural Elements

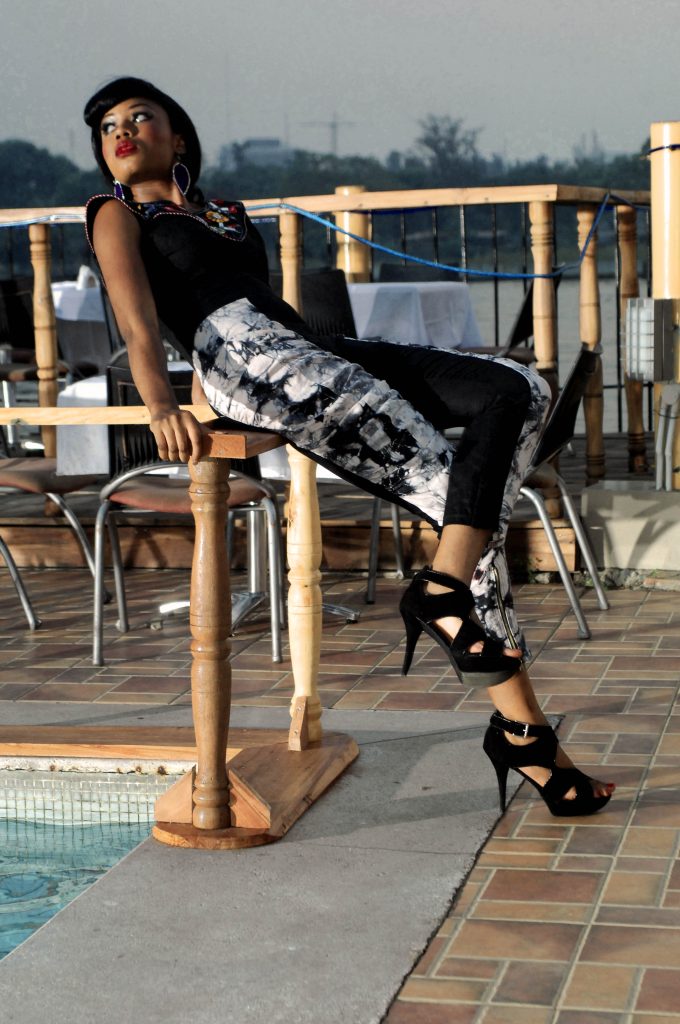
Outdoor environments offer a wealth of natural elements, such as trees, rocks, and water. Incorporate these elements into your poses to create a harmonious and visually appealing composition. Use the environment to frame your model or add context to the shot.

2. Work with the Light

Natural light can be both a challenge and an asset. Pay attention to the time of day and the quality of light. Early morning and late afternoon (golden hour) provide soft, flattering light, while midday sun can create harsh shadows. Use reflectors or diffusers to control the light as needed.

3. Encourage Movement

Outdoor settings often provide more space for movement. Encourage your model to walk, run, jump, or interact with the environment. Capturing motion adds energy and spontaneity to your photos, making them more engaging.

4. Consider the Background

Outdoor backgrounds can vary greatly, from urban settings to natural landscapes. Choose backgrounds that complement the mood and style of your shoot. Be mindful of distractions and clutter in the background, and adjust your composition to keep the focus on the model.


Posing Techniques

1. The S-Curve

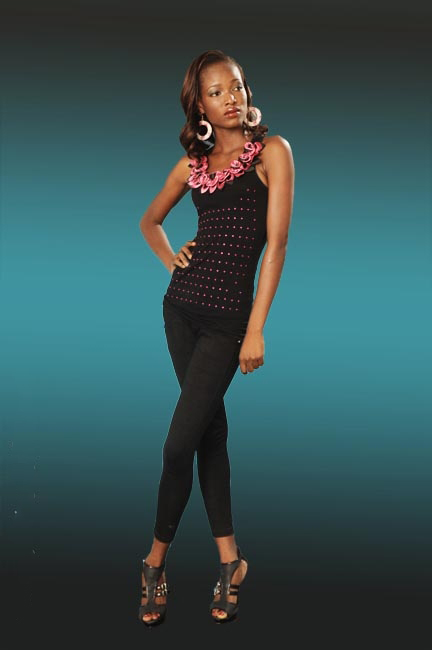
The S-curve is a classic posing technique that creates a graceful and elegant look. Have your model shift their weight onto one leg, creating a subtle S-shape with their body. This pose enhances natural curves and adds a sense of movement.

2. The Triangle

Creating triangular shapes with the body can add visual interest and balance to your composition. Position the model’s arms, legs, and body to form triangles, guiding the viewer’s eye through the image.

3. The Rule of Thirds

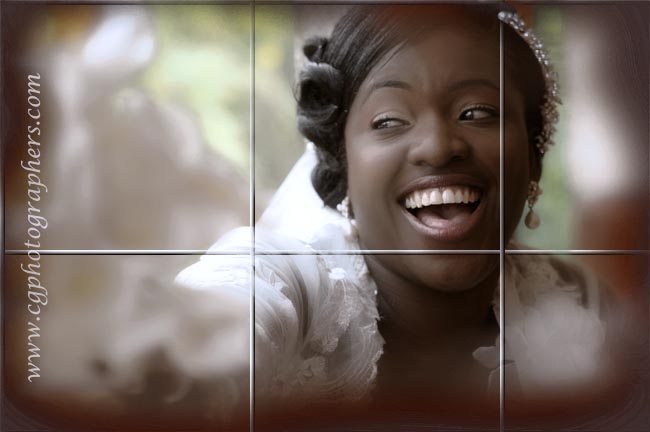
The rule of thirds is a fundamental compositional technique. Imagine your frame divided into a grid of nine equal parts. Position key elements of the pose along these lines or at their intersections to create a balanced and aesthetically pleasing image.

4. Interaction and Connection

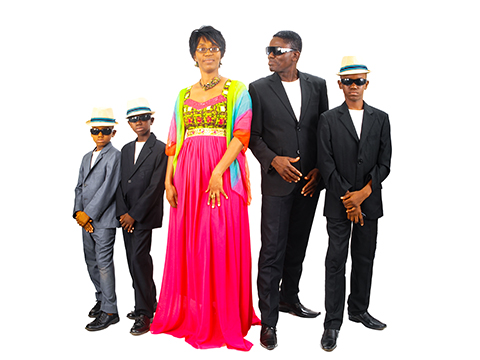
Encourage the model to interact with their surroundings or other subjects in the frame. This interaction adds a sense of connection and storytelling to your photos. Whether it’s a touch, a gaze, or a gesture, these interactions can convey emotion and depth.

Final Thoughts

Posing models effectively requires a blend of technical knowledge and artistic vision. By understanding and applying these tips and tricks, you can create striking and memorable images, whether you’re shooting indoors or outdoors. Remember to stay flexible, communicate clearly, and continuously experiment to find the best poses for each unique shoot. Happy photographing!

Similar Posts