How to Photograph a Child in a Studio Shoot: Tips and Techniques
IPhotographing children in a studio setting can be both challenging and rewarding. Children are naturally energetic, curious, and often unpredictable, which can make capturing the perfect shot a bit tricky. However, with the right approach, you can create beautiful, timeless portraits that parents will treasure. Here’s a guide to help you photograph children in a studio shoot effectively.
Preparing for the Shoot
1. Plan Ahead
Before the session, discuss with the parents any specific themes, outfits, or props they would like to include. Knowing these details in advance helps you plan your lighting, background, and overall setup.
2. Create a Comfortable Environment
Children can be nervous in unfamiliar settings. Make the studio welcoming by having toys, snacks, and a comfortable area for them to relax. The more at ease the child is, the better the photos will turn out.
3. Choose the Right Time
Schedule the shoot at a time when the child is usually well-rested and fed. Avoid nap times or meal times to ensure the child is in a good mood.
Setting Up the Studio
1. Lighting
Use soft, diffused lighting to create a gentle and flattering look. Softboxes and umbrellas work well to avoid harsh shadows. Position the main light at a 45-degree angle to the child to add depth and dimension.
2. Background
Choose a simple, clutter-free background that doesn’t distract from the child. Solid colors or subtle patterns work best. Consider using props that match the theme without overwhelming the scene.
3. Camera Settings
Use a fast shutter speed to freeze any sudden movements. A wide aperture (low f-stop number) can create a beautiful bokeh effect, isolating the child from the background. Keep your ISO as low as possible to avoid noise in the images.

During the Shoot
1. Engage with the Child
Start by talking and playing with the child to build a connection. Let them explore the studio and get comfortable with you and the environment. Genuine smiles and expressions come naturally when the child is relaxed and having fun.
2. Be Patient and Flexible
Children can be unpredictable, so patience is key. Be ready to adapt to their mood and energy levels. If they want to take a break or play, go with the flow and capture candid moments.
3. Use Props Wisely
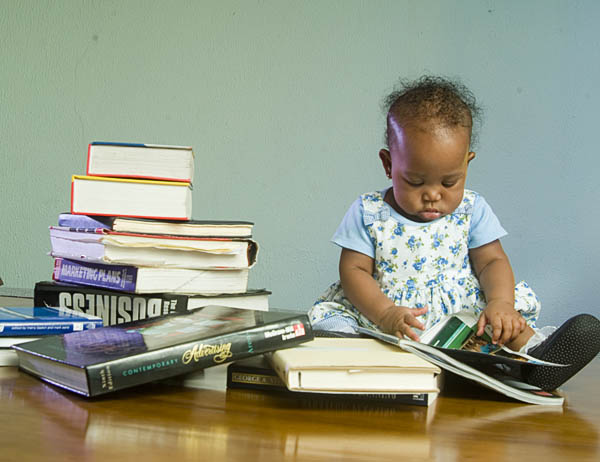
Props can add interest and keep the child engaged. Simple items like toys, balloons, or books can be great for capturing playful expressions. Make sure the props are safe and appropriate for the child’s age.
4. Capture Natural Expressions
Encourage the child to play, laugh, and be themselves. Avoid forcing poses, and instead, capture natural interactions and expressions. This approach often results in the most authentic and charming portraits.
Post-Processing Tips
1. Enhance the Colors
Children’s portraits often benefit from vibrant, lively colors. Adjust the saturation and contrast to make the images pop, but be careful not to overdo it.
2. Retouch Gently
While retouching, maintain the child’s natural look. Remove any temporary blemishes or distractions, but avoid heavy editing that changes their appearance.
3. Black and White Conversions
Black and white portraits can add a timeless, classic feel to the images. Experiment with different tones and contrasts to highlight the child’s features and expressions.
Final Thoughts
Photographing children in a studio requires a mix of technical skill and a playful, patient approach. By creating a comfortable environment, engaging with the child, and using the right techniques, you can capture beautiful, memorable portraits. Remember, the goal is to make the session enjoyable for the child, resulting in genuine, heartfelt images that parents will cherish for years to come.

